


Master the Art of DIY: How to Make Your Own Bubble Tent
The allure of outdoor living has taken a new twist with the advent of bubble tents. These transparent structures offer an immersive nature experience like no other. But did you know that learning how to make your own bubble tent can be an intriguing and rewarding endeavor? Let’s delve into it!
The Basics on How to Make Your Own Bubble Tent
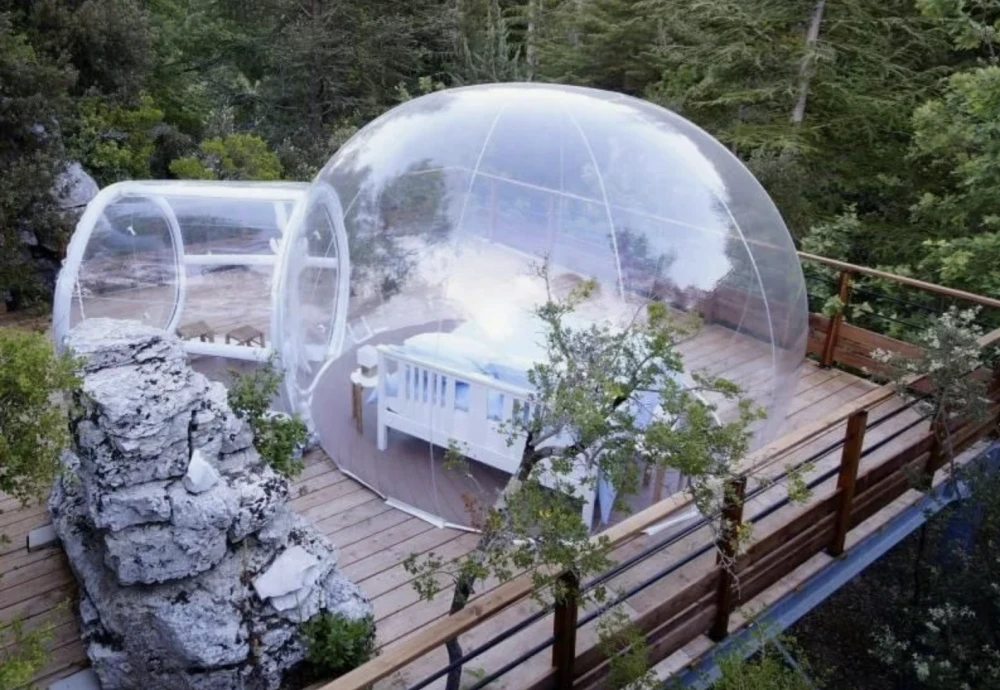
To begin creating your personalized sanctuary under the stars, understanding the basic design principles is crucial. The primary structure comprises two layers: an outer transparent layer for viewing pleasure and an inner layer providing privacy.
You’ll require durable materials such as PVC or TPU plastic for longevity against weather elements. Additionally, consider implementing a reliable inflation system; continuous air-flow is key in maintaining structural integrity.
Picking Out Suitable Materials
Your choice of materials will significantly influence durability and user comfort. Opting for UV-resistant plastics can protect occupants from harmful solar radiation during daytime use while ensuring clear night sky views.
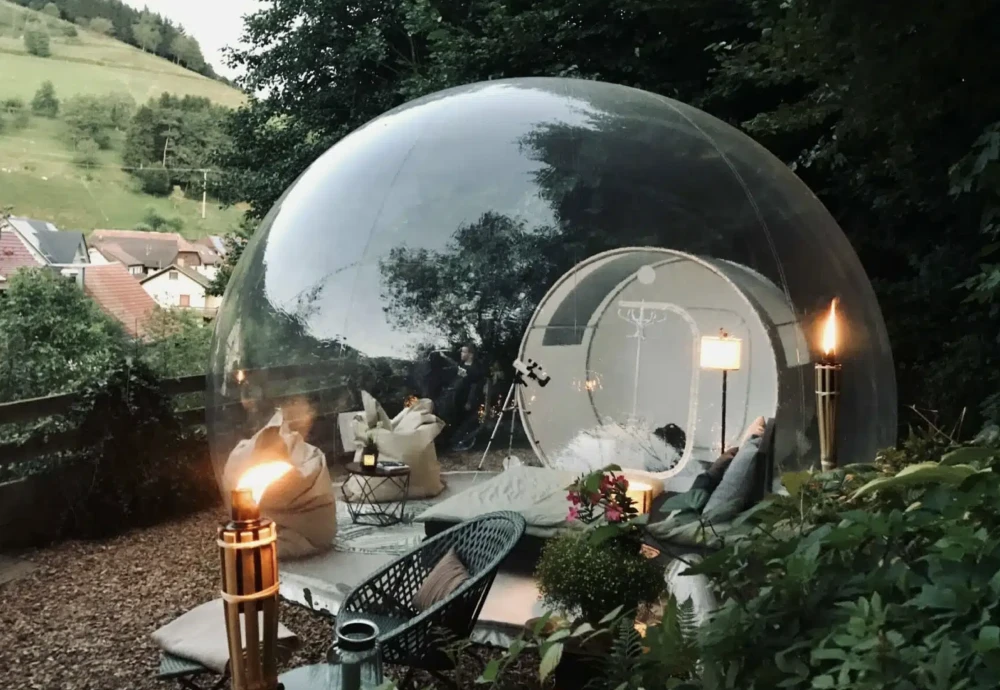
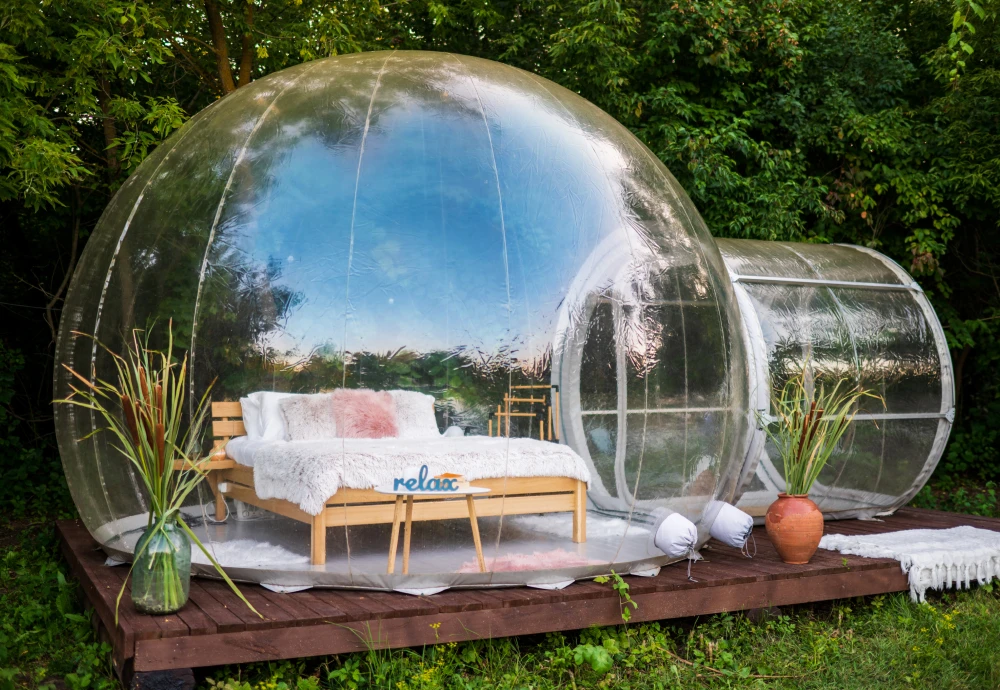
Furnishing your interior space with comfortable bedding options enhances usability further by making overnight stays more appealing – think inflatable mattresses or sleeping bags tailored for different weather conditions.
Necessary Tools For Constructing Your Bubble Tent
In addition to materials, certain tools are necessary when learning how to make your own Transparent Glamping Dome. An electric blower ensures constant airflow while heat-sealing equipment guarantees secure seams between plastic sheets—creating a leak-proof enclosure.
If you’re interested in other innovative products, check out these articles about an entertaining toy for cats, the comeback of chunky vintage earrings, and making bath time easy for pets.
Crafting It Right: Steps on How to Make Your Own Bubble Tent
The first step involves cutting your plastic sheets into the desired shape. Next, heat-seal the edges together, ensuring that all seams are airtight. Attach an airlock system and connect it to your blower—this maintains internal pressure while allowing easy entry and exit.
Adding Personal Touches To Your Bubble Tent
Your DIY bubble tent can be as basic or elaborate as you wish. Consider adding zippered sections for ventilation or integrating curtains for privacy. You could even style your space with ambient lighting options such as solar-powered lanterns or LED strip lights.
Tips For Maintaining Your Homemade Bubble Tent
Maintenance is essential in prolonging the lifespan of your creation. Regular cleaning using mild detergents preserves transparency, while periodic checks on seams prevent potential leaks before they escalate. Luxurious Inflatable Starview Tent for Camping serves as an excellent example of what a well-designed bubble tent looks like.
Understanding the Safety Aspects
Learning how to make your own bubble tent also involves understanding safety measures. Ensure that your design includes multiple exits as a precautionary measure for emergencies. Also, remember that these structures can heat up quickly in direct sunlight, so shade is essential during daytime use.
Making Your Bubble Tent Weather Resistant
The weather can be unpredictable at times, and making your DIY bubble tent weather-resistant will ensure its longevity. Consider using waterproof materials and add a sturdy base to prevent it from being swept away by strong winds.
Amping Up Comfort Levels
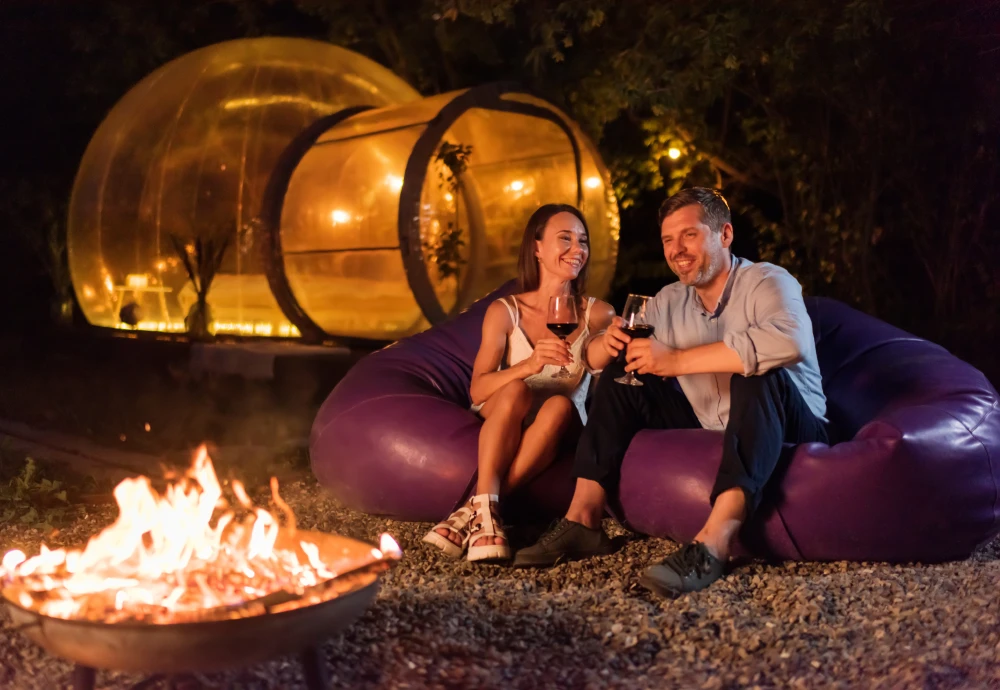
Your homemade bubble tent should not only provide an immersive outdoor experience but also offer comfort akin to home. Consider adding a portable heater for chilly nights or fans for warmer days. An inflatable bed or comfortable sleeping bags can enhance the overall user experience too.
Enjoying The Fruits of Your Labor
Once you’ve completed this project on how to make your own bubble tent, it’s time to enjoy! Whether stargazing with loved ones or enjoying solitude amidst nature—your DIY creation offers endless possibilities. Luxurious Inflatable Starview Tent for Camping, again serves as an excellent reference point.
Embrace Your DIY Spirit!
Learning how to make your own bubble tent can be a fulfilling endeavor that not only challenges your creativity but also results in a unique living space. So, gather your materials and tools, roll up those sleeves, and let’s get building!


Leave a comment